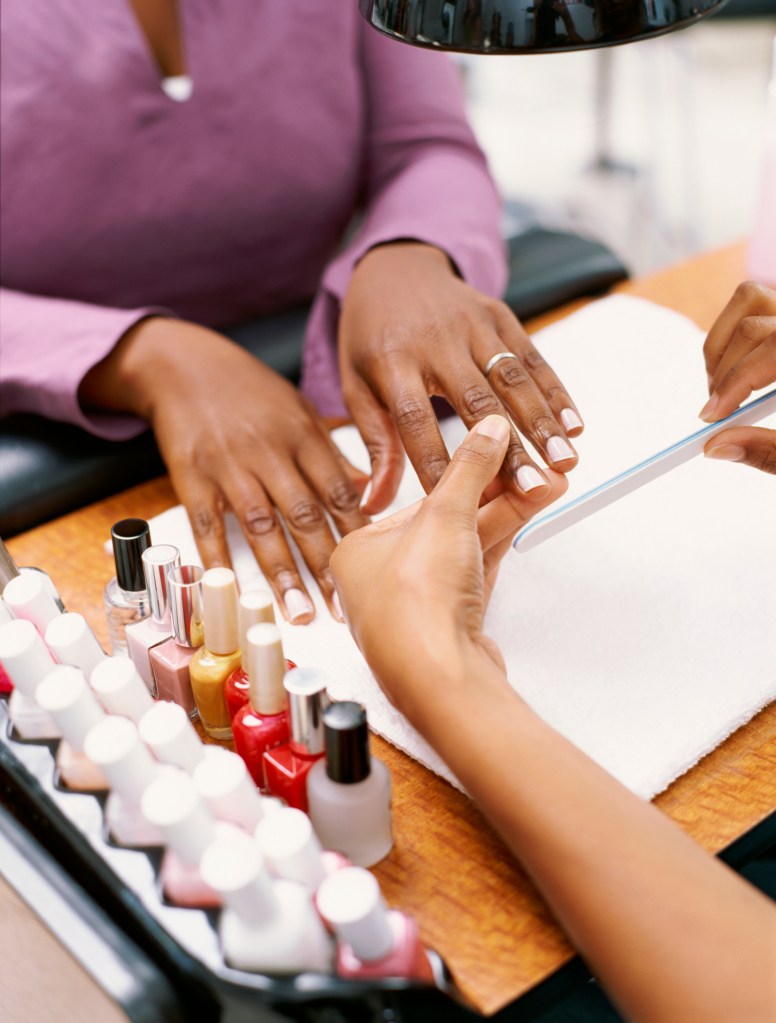
Source: George Doyle / Getty
These days, press-on nails are reigning supreme in the manicure world. Known for their convenience, easy application, and budget-friendly price tag, it’s a significant win for the girls that refuse to spend nearly $100 for a full set. Plus, they last just as long and, in some cases, even longer than other nail trends. However, even though it’s easy to apply and forget about your press-ons, failing to remove them properly can take a toll on your natural nails.
Like removing your acrylics and gel manicures, press-ons require special attention to be removed safely. After all, improper removal methods can cause tearing and breakage to become a factor. Truth be told, press-on nails are pretty easy to take off since they’re made out of plastic. However, depending on your application method — sticky tabs or glue — you may have to put in some work to remove them effectively.
That said, it’s crucial to have all the information you need to get the job done. This is where celebrity nail artist and KISS Nails Ambassador Gina Edwards comes into play. The nail guru is giving us the full breakdown on how to remove press-on nails along with aftercare tips so you can keep your nails underneath in tip-top shape. Grab a pen, pad, or simply add this article to your bookmark list to keep this information close.
1. Press-on nails should be removed within one and a half to two weeks post-application.
Leaving your press-on nails for too long is a recipe for disaster. Since press-on nails naturally loosen the longer you wear them, keeping them on for too long can cause cracking and breaking to both the press-ons and your nails. “Once the nails start to grow away from the cuticle line, which starts at about 1 1/2 to 2 weeks, you should remove,” Gina tells us.
2. Prep your press-on nails for removal.
As with all beauty treatments and services, prep work is an absolute must for press-on nails. Simply attempting to separate your press-ons from your nails will not do your nails underneath any justice. “Always cut down the press ons and remove the first clear layer off the nails with a light file,” Gina says. “This breaks the seal and helps the process move a lot faster when soaking.”
3. Stick tab press-on manicures only require a soaking session to be removed.
The beauty of using stick tabs to apply your press-on manicures is that you won’t have to rely on acetone to remove them. Since acetone can be super-drying to your nails, limiting its use is always a safe bet. Thanks to stick tabs, a simple soak is all you need to be press-on-free. Gina suggests using “warm water, alcohol, and some cuticle or olive oil” in a bowl to help loosen the tabs. Then, you’ll be able to remove them with ease or they’ll simply fall off on their own.
4. Soak your nails in an acetone-based nail polish remover to remove your glue-ons.
Glue-ons require a bit more work to remove successfully. According to Gina, using an acetone-based remover is key for melting the nails right off. Be sure to soak them until the glue loosens. Use an orange stick to help gently lift the press-ons from your nail. If the nails don’t budge, you’ll need to repeat the process. Please remember to be patient. The overall health of your nails depends on it.
5. Buff your natural nails.
Once your press-ons are removed, your work is not done. Take the time to buff your nails to gently remove any leftover adhesive. If you find that a large amount of glue is left on your nails and is hard to remove, re-soak your nails for 5 minutes. This will help loosen the adhesive so you won’t make the mistake of over-buffing your nails. After all, super-thin nails are a no-no.
6. Hydrate and moisturize your nails.
Last but certainly not least, it’s time to welcome some hydration into the mix. Since the soaking process can cause dryness to become a factor, adding some TLC is always a smart call. “Aftercare is an important final step,” Gina explains. “My advice is to hydrate and moisturize and add a keratin-based strengthener.”
Additionally, Gina shares that Nail Tek offers four formulas depending on your nail needs. With essentials that cater from everything to normal healthy nails to hard brittle nails, you’ll be able to get and keep your natural nails in tip-top shape.
DON’T MISS:
11 Helpful Tips To Make Your Manicure Last Longer
TRIED IT: The Pottle Mix Helped Me Step My At-Home Nail Game Up
Everything You Ever Wanted To Know About The Difference Between Gel Manicures And SNS Nails


